Sea-ice class
Today Abigail Noble and I took a Hagglund transporter out onto the Ross Sea to learn the basics of sea ice safety and ice dynamics. The sea ice on McMurdo Sound can be 2 meters thick, but this ice is constantly changing, and when you drive along its surface, you can't assume that it is uniformly 2 meters thick. The ice near land is called fast ice, and is generally stable, but as you move further out into the Ross Sea, the ice transitions into something called first-year drift ice.
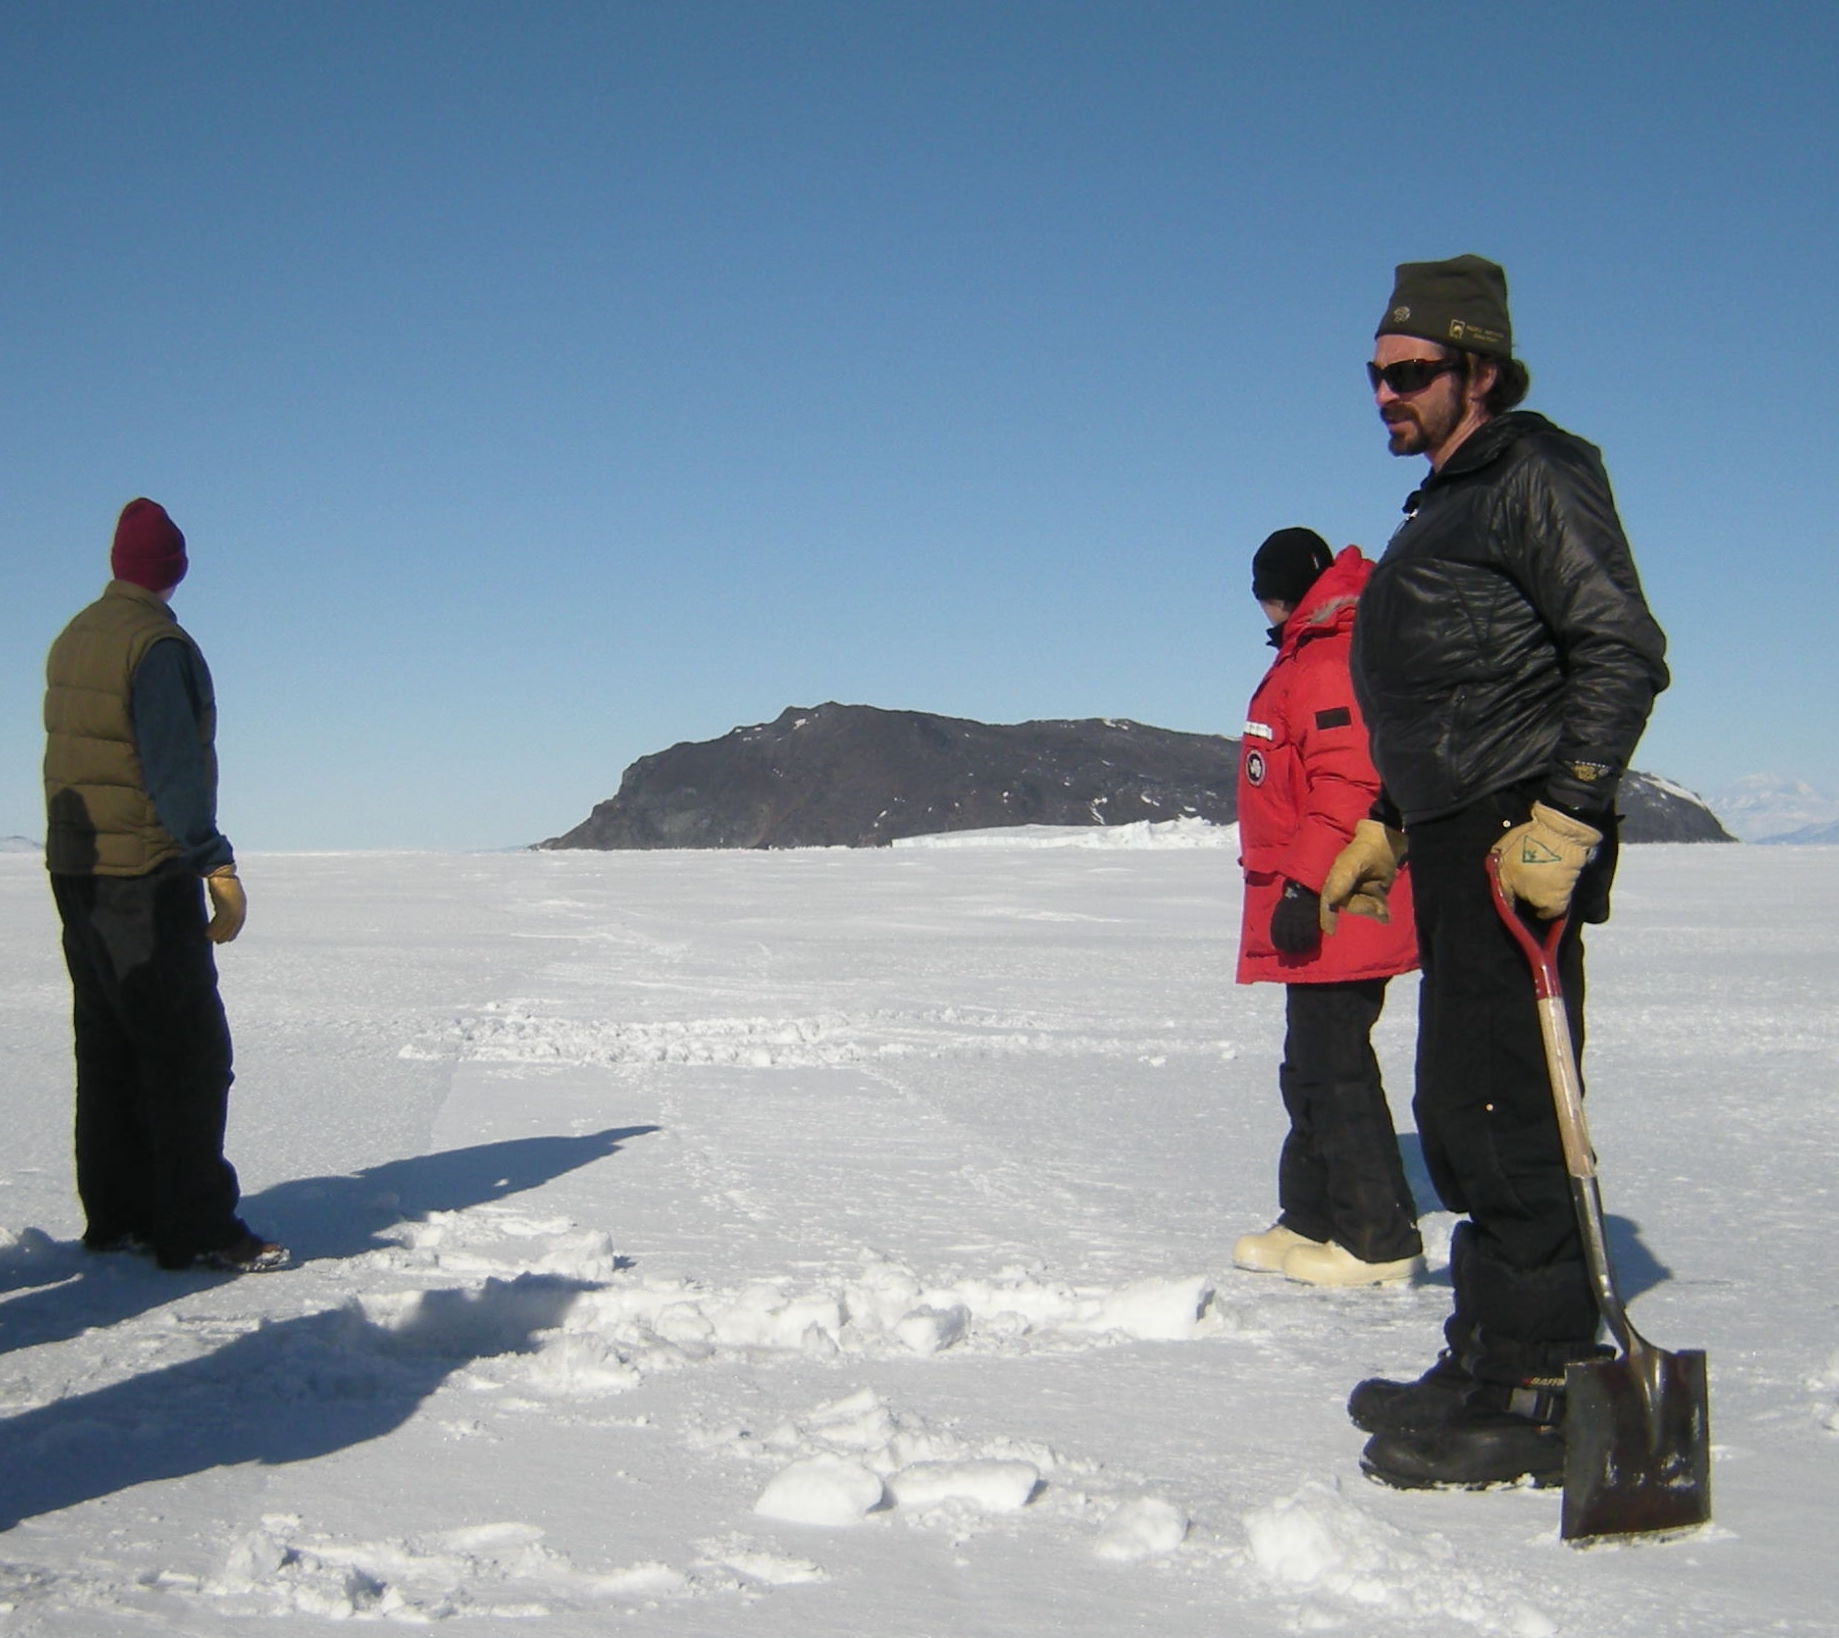
First year ice is an extremely dynamic environment: big plates of sea ice move about in a shifting pattern of cracks, and these cracks break open, refreeze, and break again, progressively widening. Large cracks can be a serious hazard as you drive across the ice: some cracks are dozens of feet wide, and if the ice is thin in the crack, your vehicle could get stuck -- or worse! The cracks are often buried under the snow, but with a sharp eye you can often spot the textural and snow color changes which give the cracks away. See if you can spot the crack in the above photo.
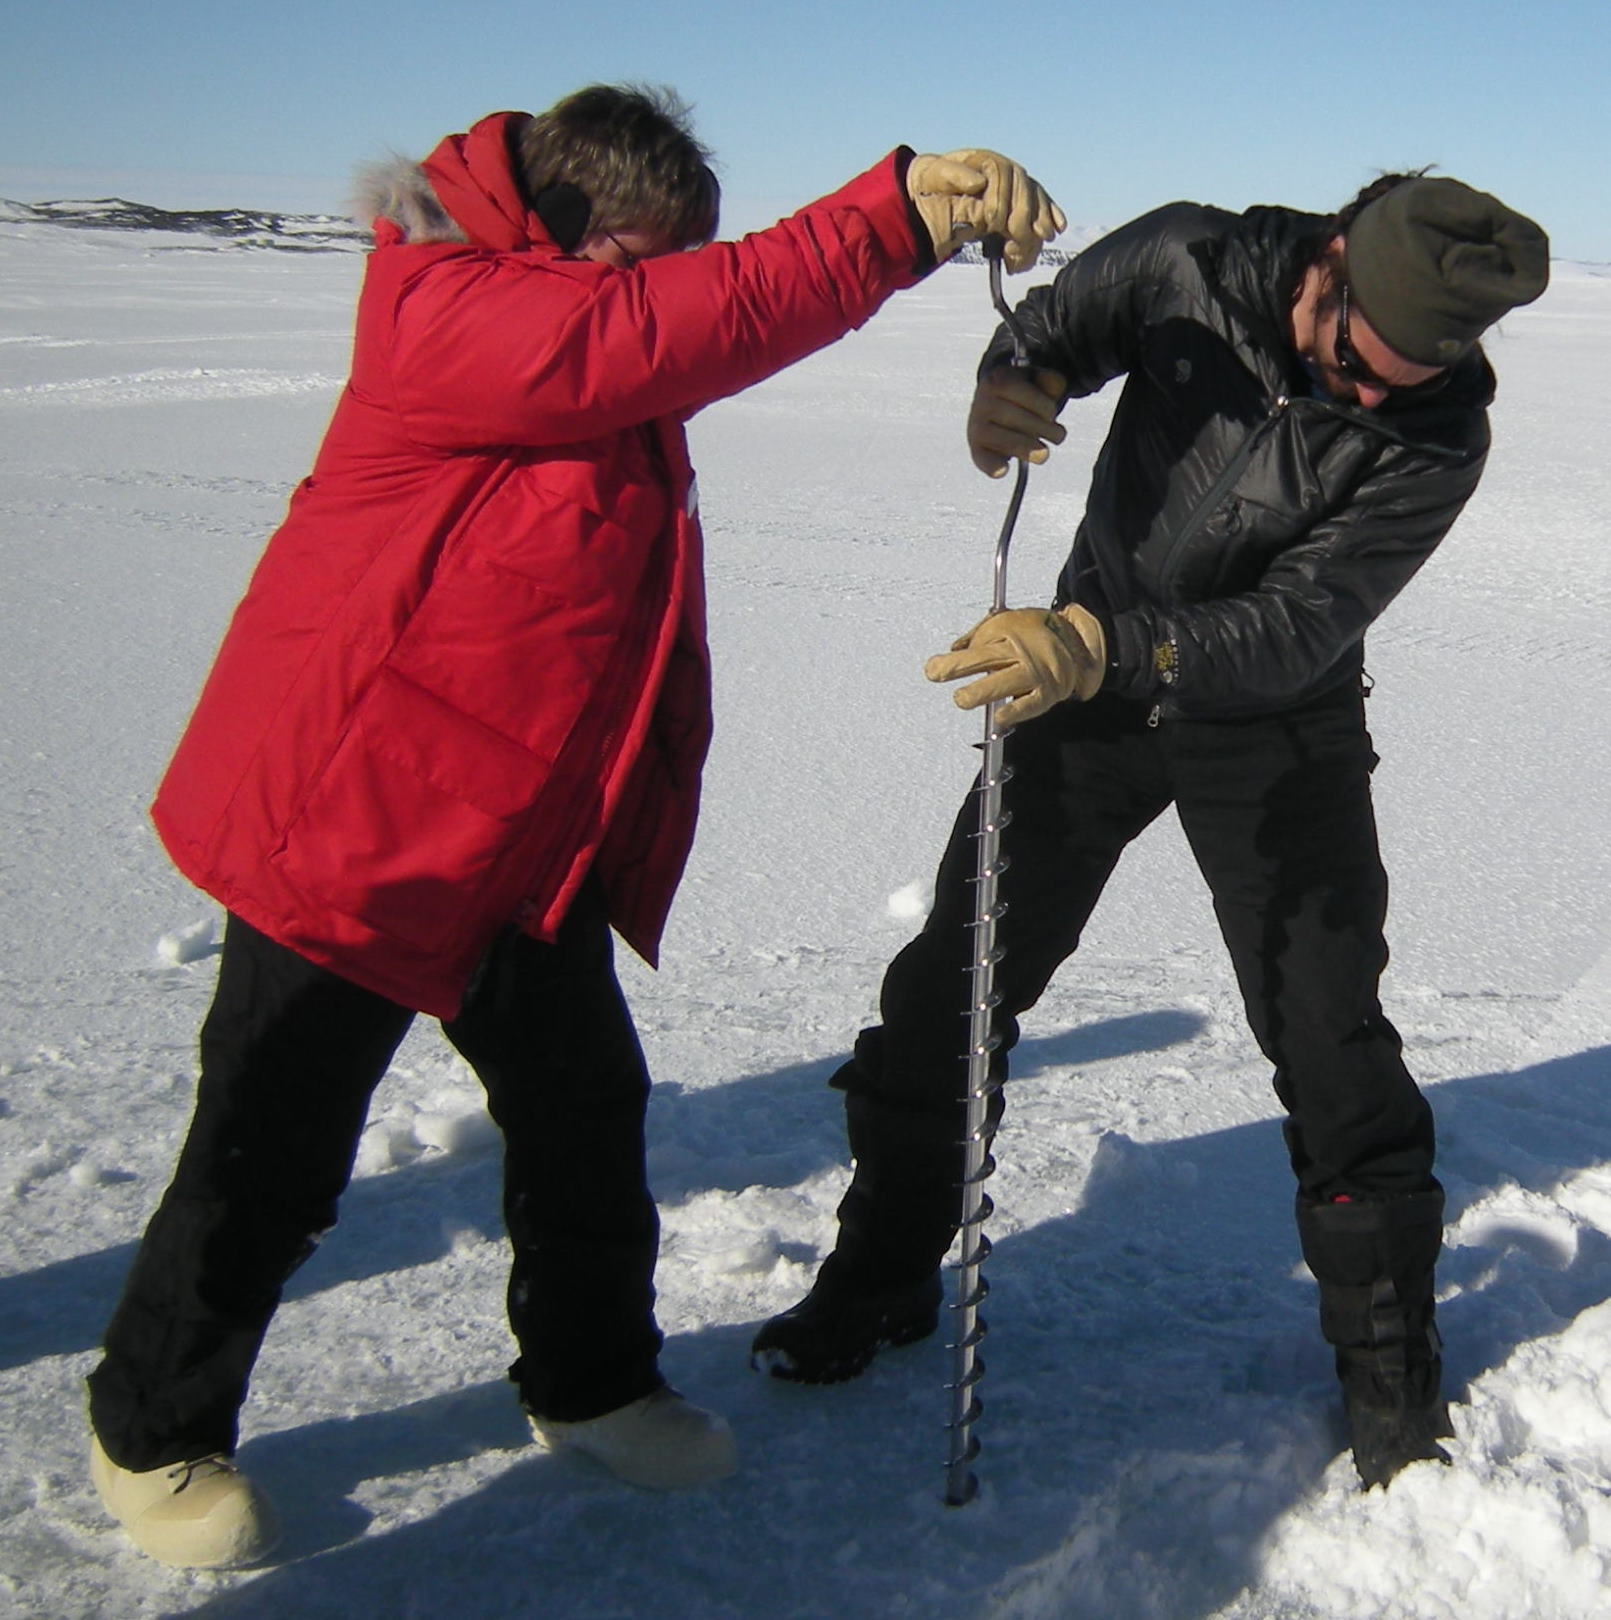
Once we identified our crack, we set about determining the thickness of the ice at the edge. We started with a hand-crank drill, and surprisingly it took only a few minutes of labor to drill through 72 inches of sea ice. The minimum thickness needed for vehicle travel is 30 inches, so this crack didn't present any problems for us to cross.
We drove on, and the next major crack we encountered was 15 feet wide, and had multiple zones where it had frozen, fractured, and refrozen again. Because each of the fractures can be of different thickness, the entire width of the crack needed to be characterized.
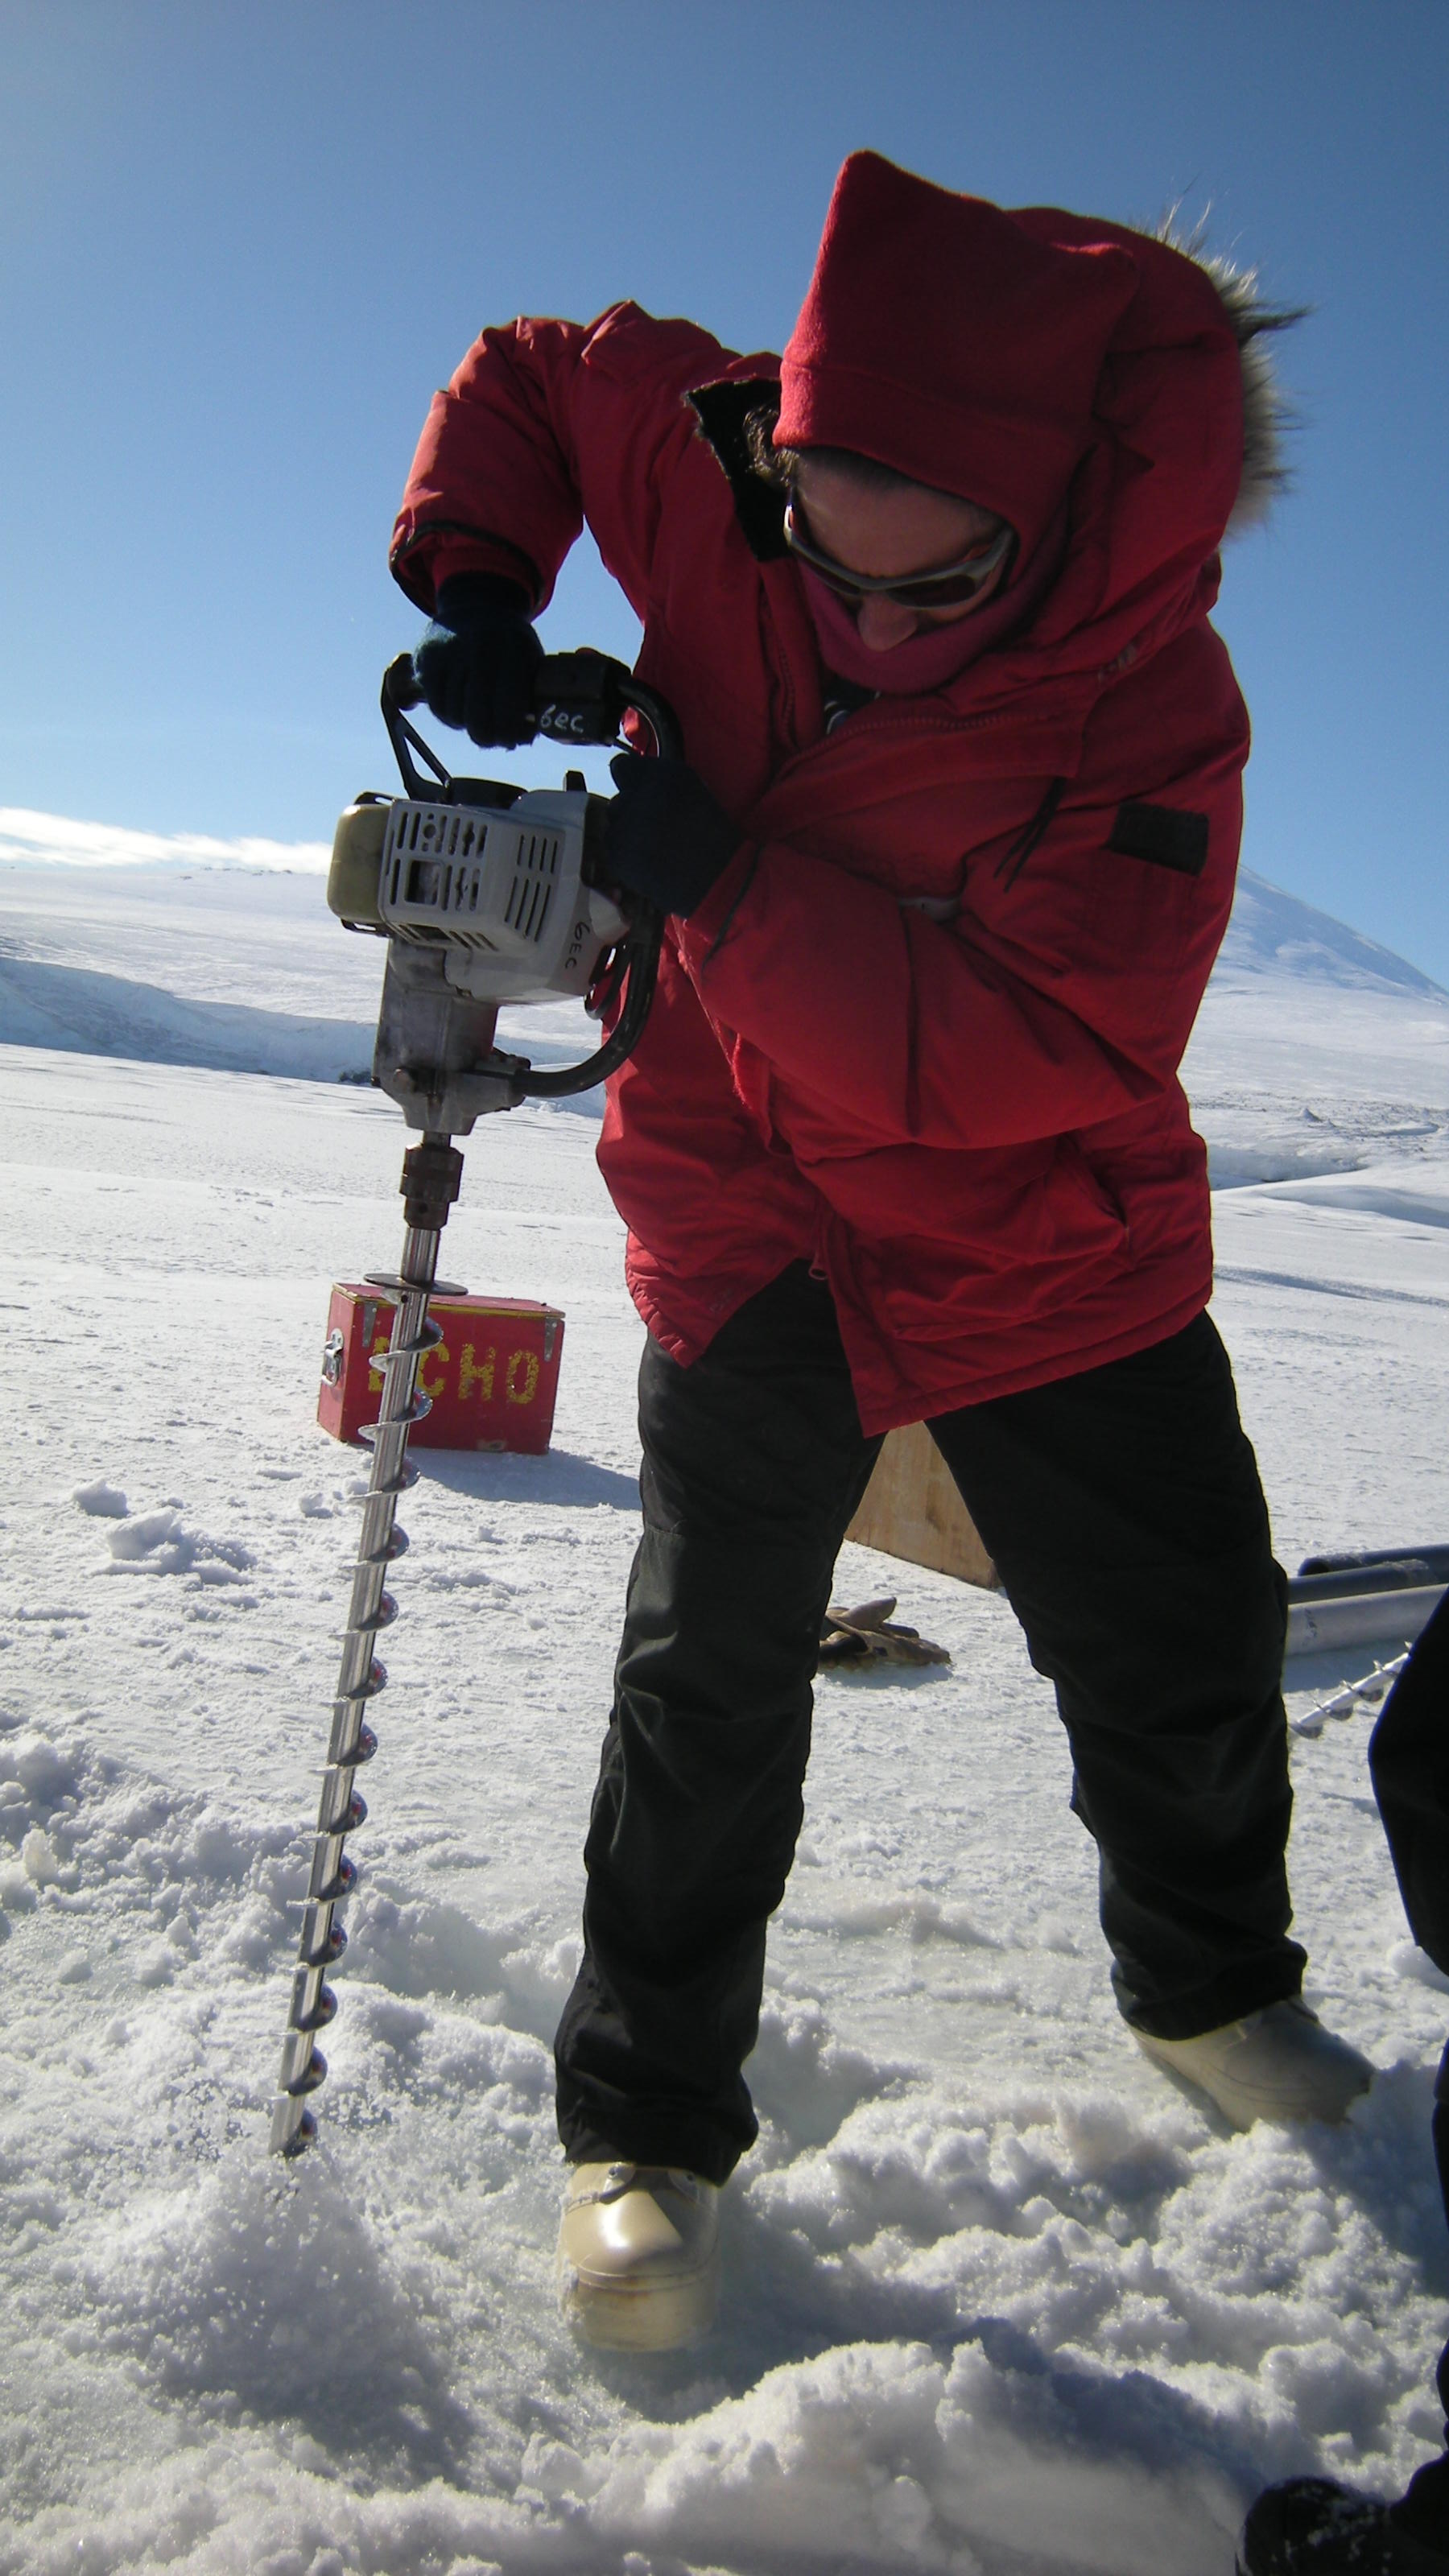
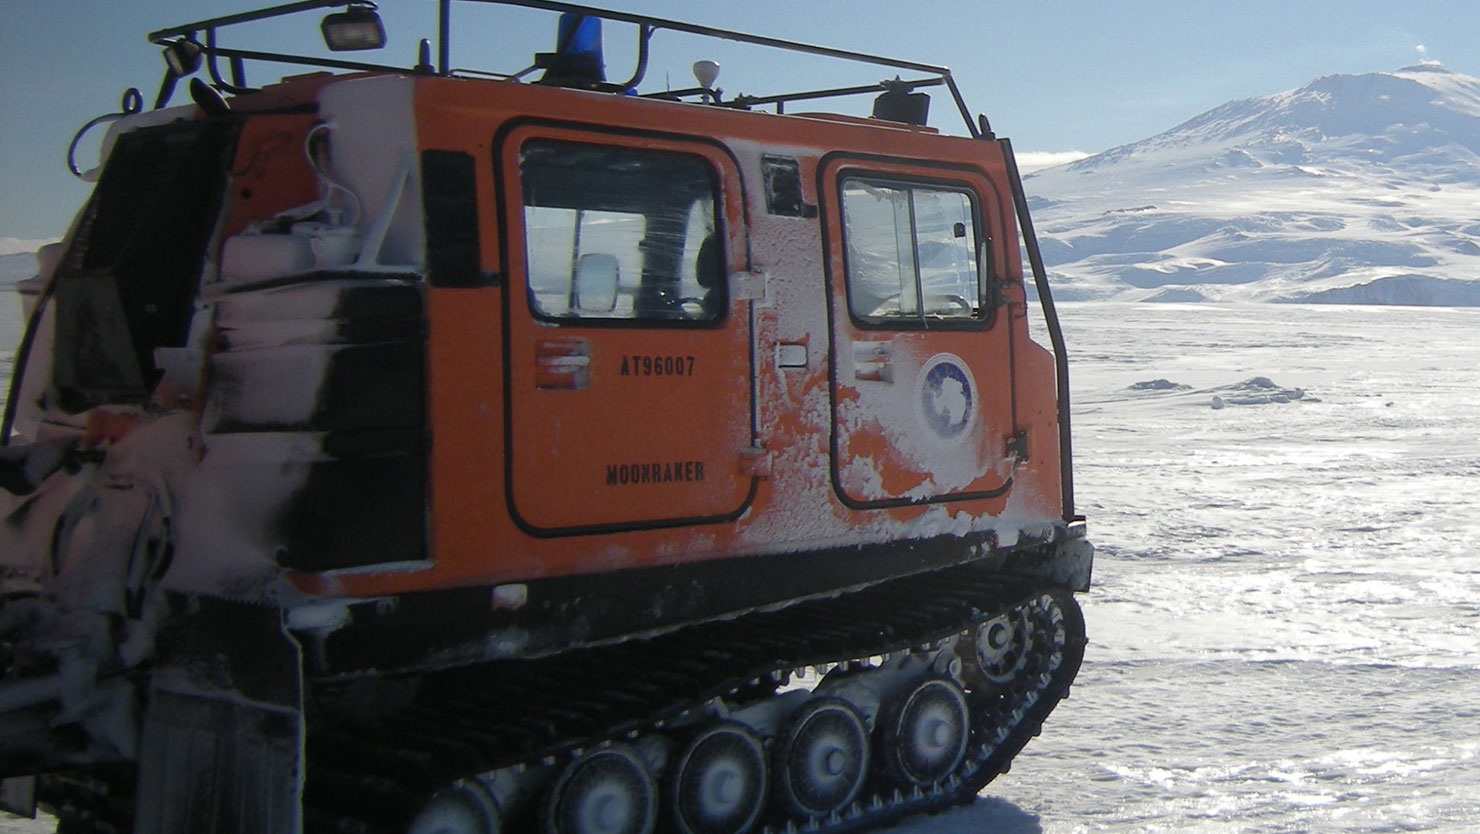
The rule of thumb around McMurdo is that a tracked vehicle can drive across a crack if the gap to be bridged is less than 1/3 of the vehicle's length. The Moonraker has a track which is 72 inches long, so we need to make sure that any thin spots in the crack zone were less than 24" wide. To really drill a large number of holes quickly, out came the power tools. In the picture on the left, Abigail uses a gasoline powered drill to quickly drill a dozen survey holes. The thickness of our 15 foot crack was 80 inches at the edges, but as you progressed toward the center, the crack thinned out to 31" thick - still thick enough to drive across, but useful information, and you wouldn't want to proceed across a 15 foot crack not knowing how thick it was in the center. The water which flowed up through the holes we cut in the ice was thick with plankton living just underneath the ice, and we were able to collect a few samples to take back to the lab.
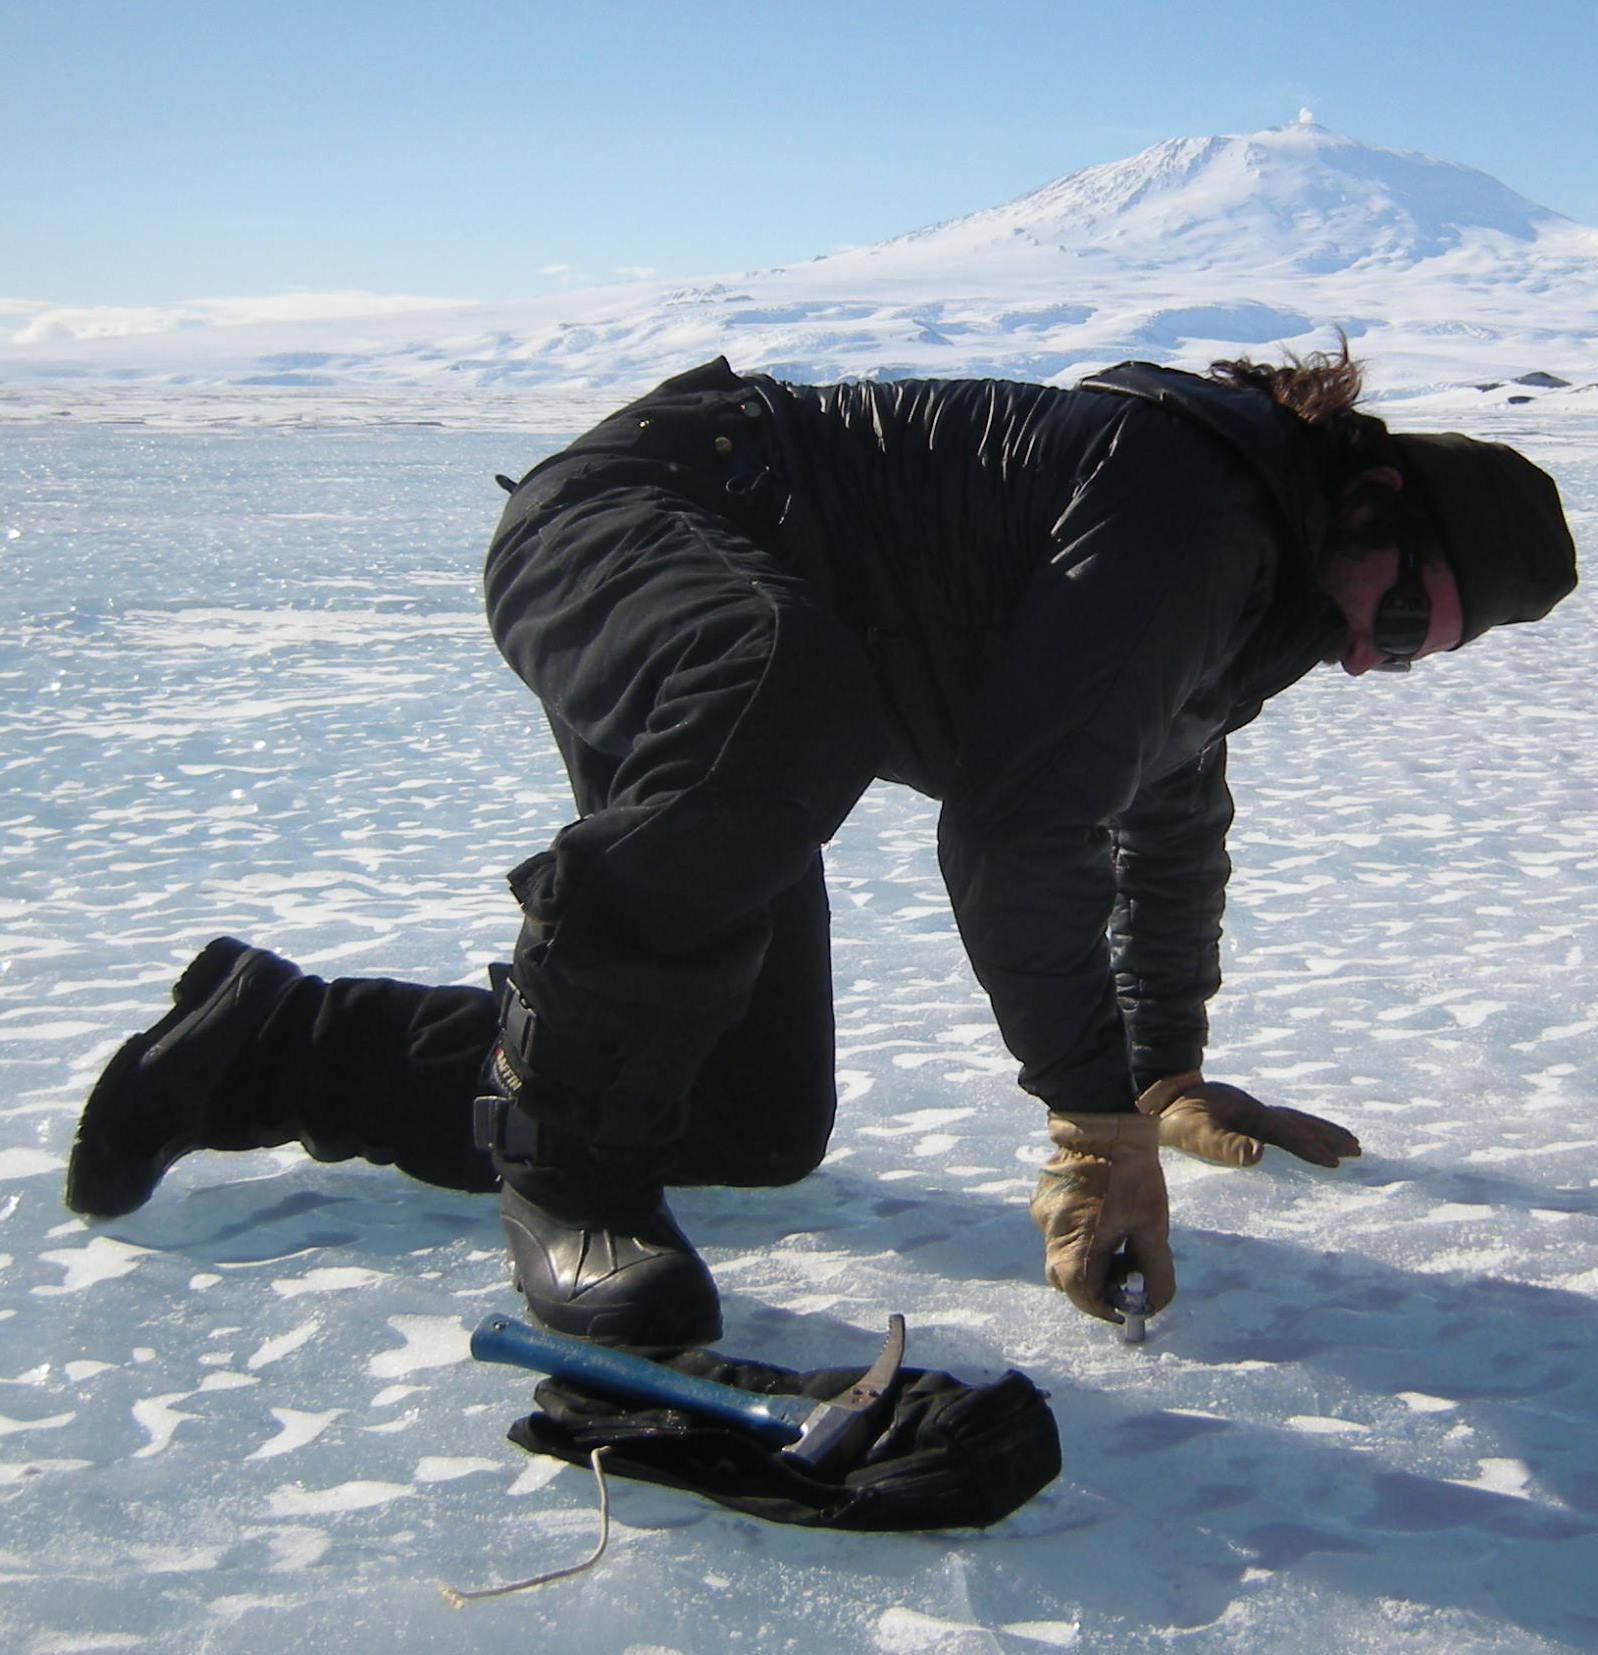
Our next exercise in class was learning how to fix things to the ice surface - this is especially important for us, as we will be camping on the sea ice for a number of days, and we will need a way to keep our tents and gear from blowing away. Our first demonstration was using ice screws, which are slowly twisted into the ice until they are solidly embedded. The screws have a loop at the end where you can thread a rope or attach a clip. This clip becomes the point of attachment for your tent or equipment.
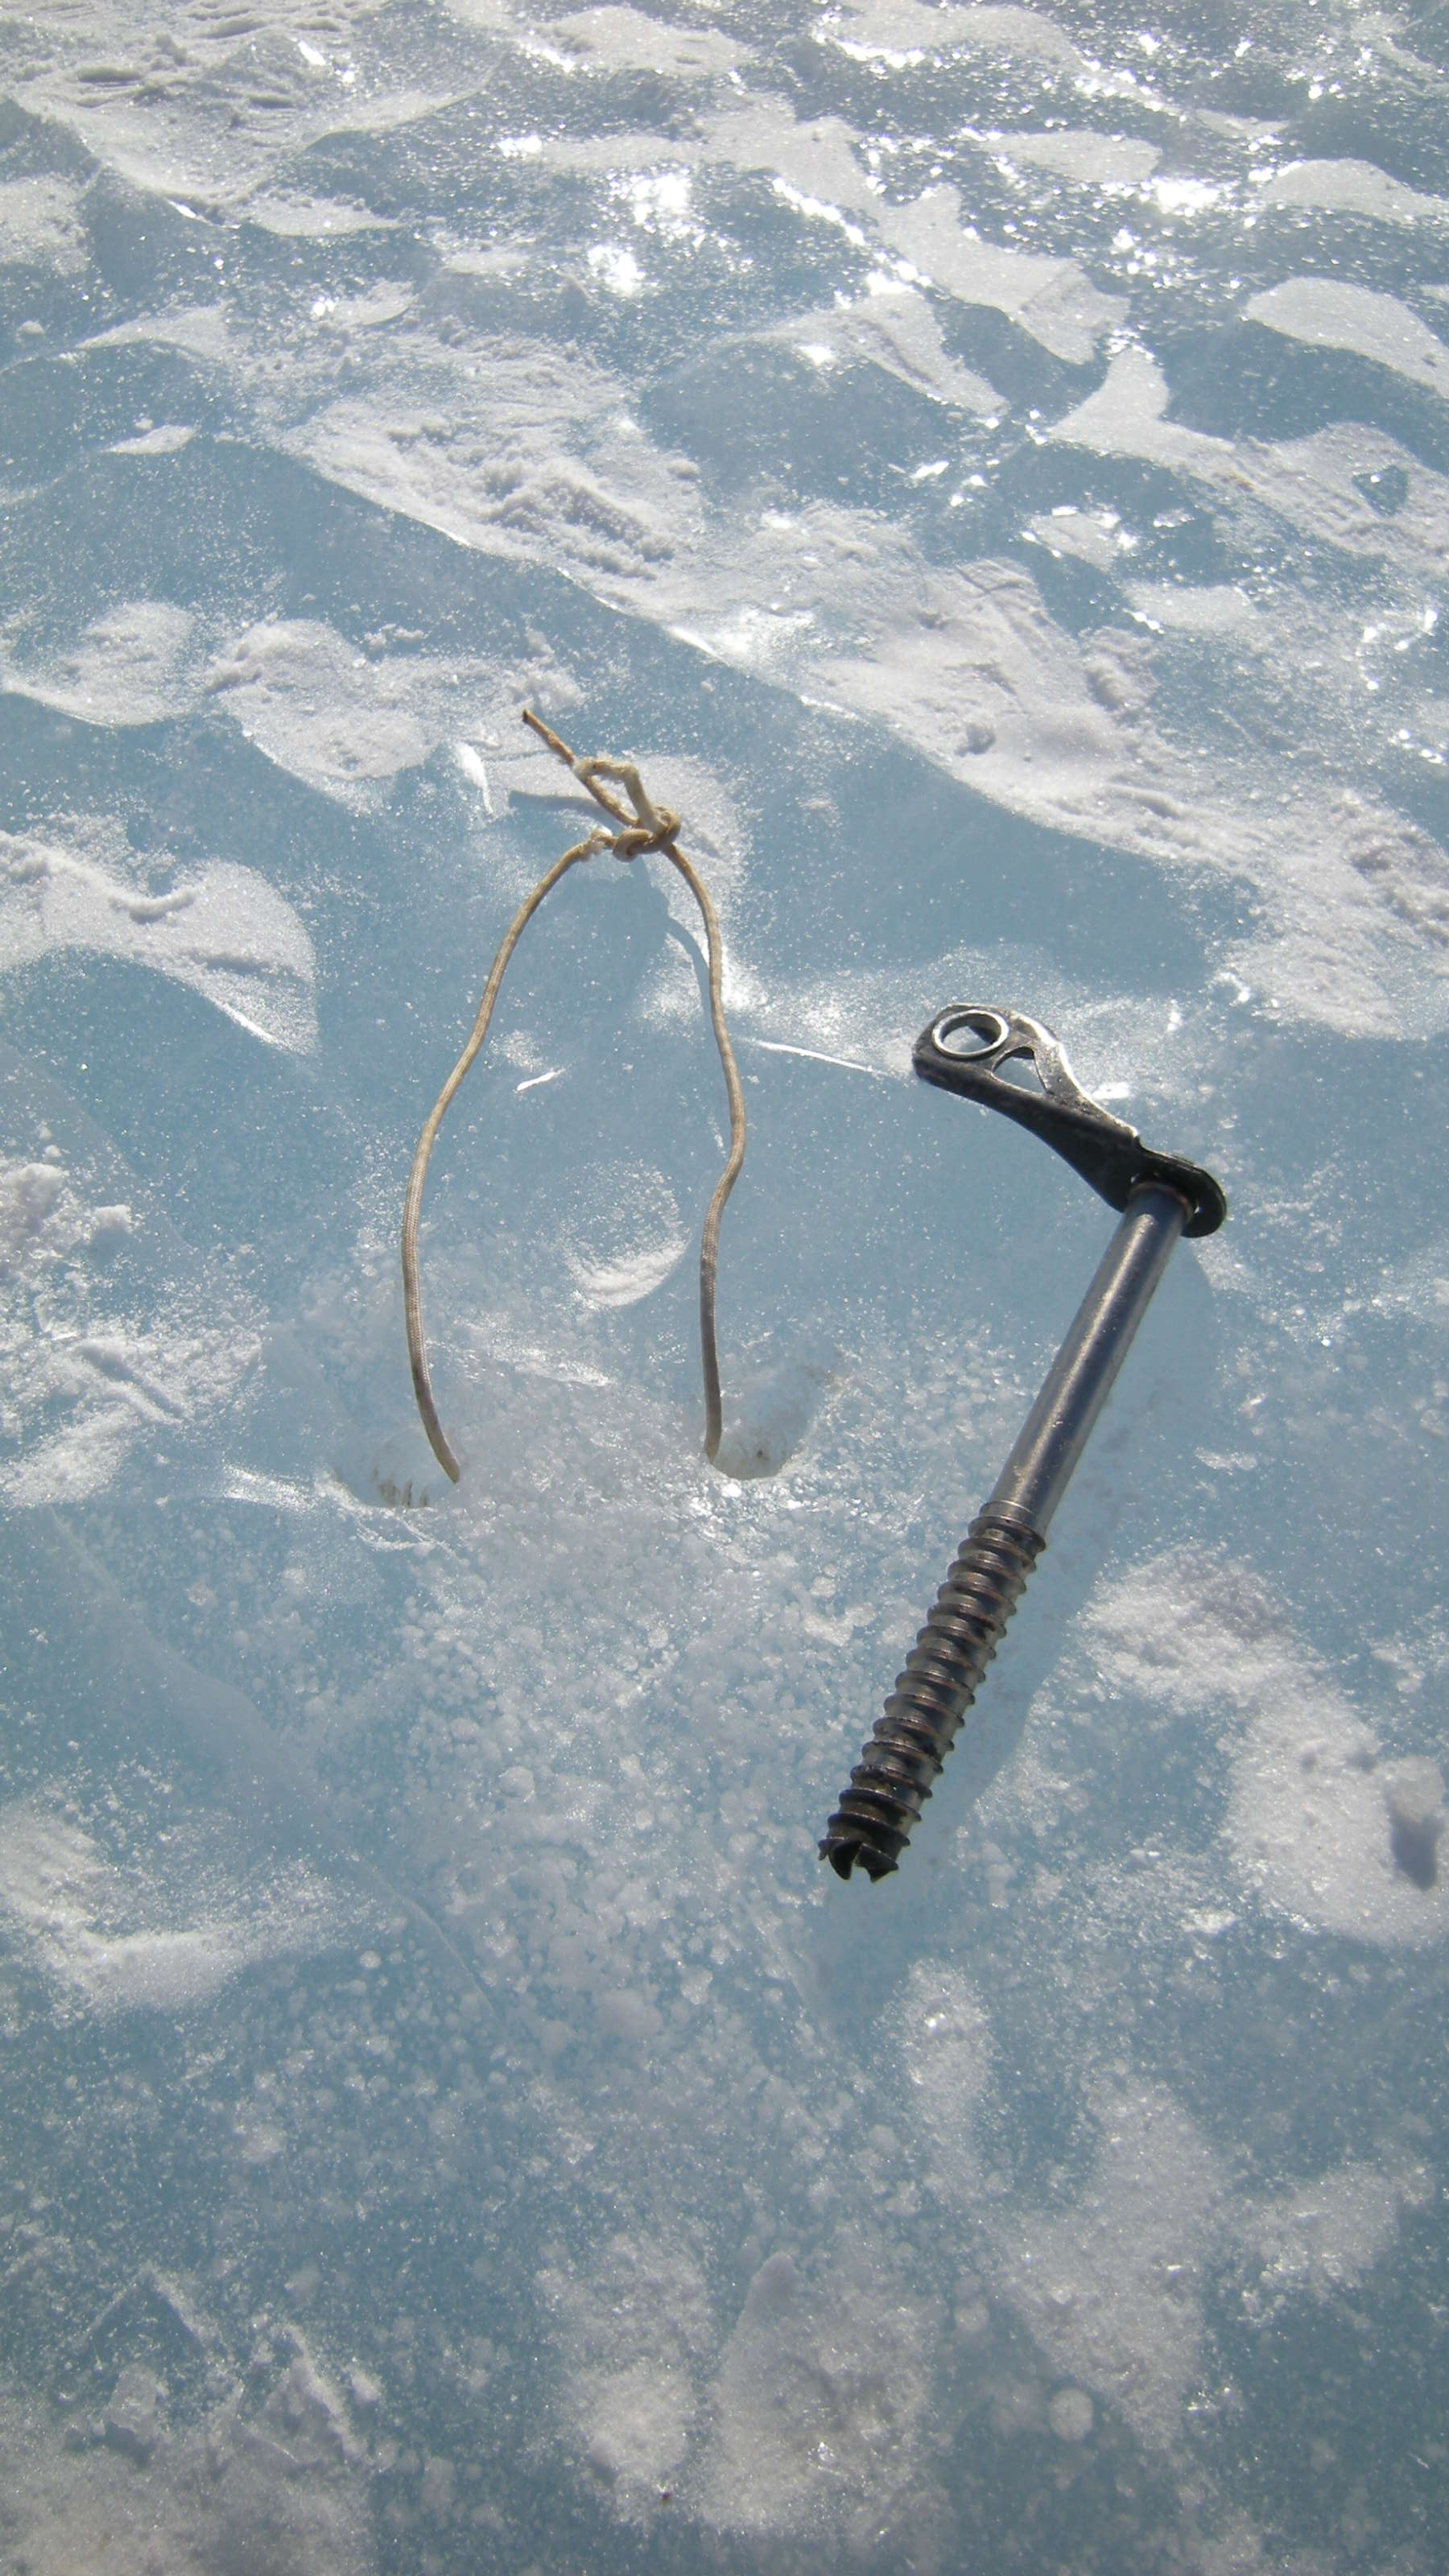
The problem with ice screws is they heat up in the sun, which melts the ice and quickly loosens the screw. While you can attempt to cover the screws with snow, in windy conditions the snow blows away, as does your tent. Paul showed us a nifty way to use the ice screws to make two holes in the ice, both at 45 degree angles, and the holes meet down in the ice. You can then thread a small piece of rope through the holes and use this rope to tie down your equipment. This is called an Abalakov thread, and will hold down your tent even in the windiest conditions. Very useful information!
On the way back to McMurdo Station we stopped at one of the major features in the McMurdo Sound, the Erebus Ice Tongue, a glacier which starts on the slopes of the Erebus Volcano and flows down into McMurdo Sound, where it floats across the water for 8 miles.

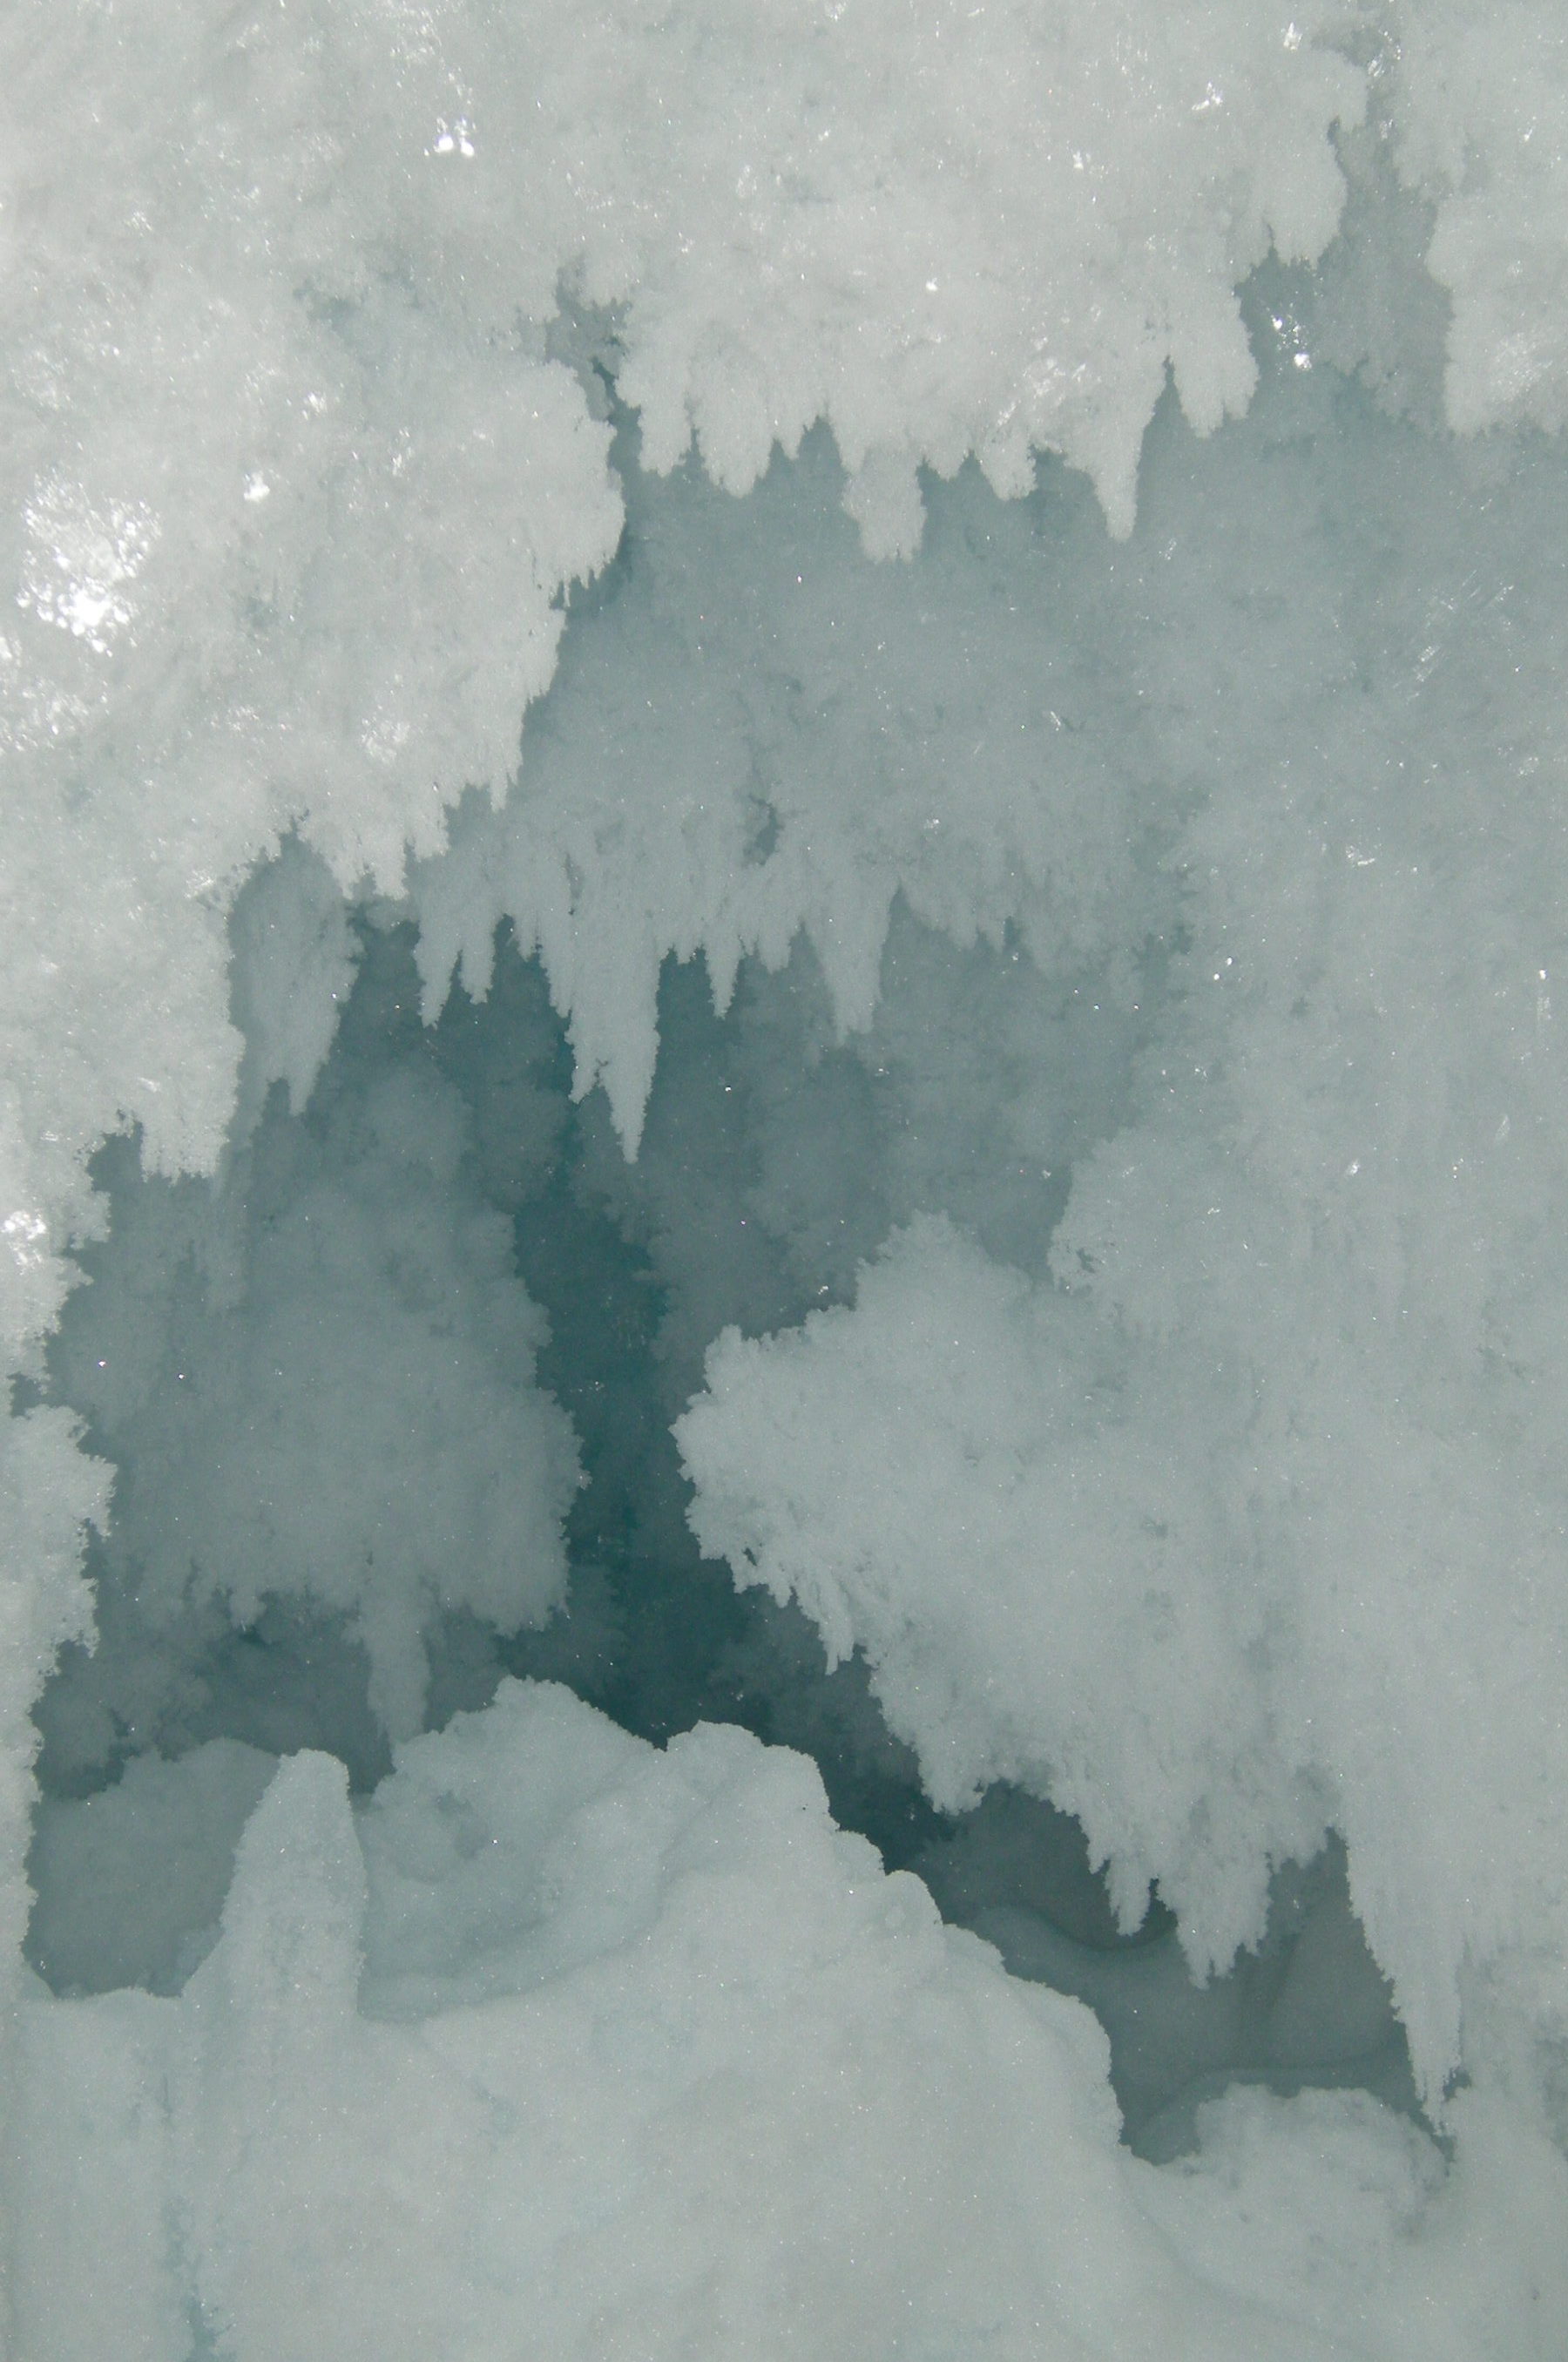
Since the Erebus Ice tongue originates on land, it is freshwater, and like any glacier, it is criss-crossed with massive cracks known as crevasses. We stopped at one of these crevasses which had become an ice cave. The entrance was raised above the sea ice, and we had to slide down into the cave via a long chute. The inside was absolutely beautiful: vapor from the sea ice had recrystallized in the interior, coating the walls and ceiling with what looked to be diamonds. Many of the crystals were hexagonal and the size of a silver dollar, and to me it was like walking about in a hall of jewels. I'll include a close up at the end of this post so you can see what it looked like.
Tomorrow will be spent gathering provisions and making sure we have all of the right equipment for our trip. Should be busy - we are set to depart across the ice on Wednesday, so keep an eye out for more posts.